Wunda Rapid Response® floor coverings information guide
This guide provides instructions on how to install your chosen floor finish onto Wunda Rapid Response underfloor heating boards. Whether you’re working with tiles, wood, laminate, carpet or LVT the guide ensures compatibility with the heating system while maintaining efficiency and durability. It covers best practices, preparation steps, and installation techniques to help you achieve a seamless and long-lasting result.
Get a Free estimate or book a showroom visit
For a free, no obligation estimate please send us your plans or get in touch. Wunda’s 5 star Trustpilot rated team is here to help you get the right information and system design for you.
Wunda's Rapid Response® UFH FAQs
Wunda’s Rapid Response® overfloor boards are made with high-strength EPS 400 and aluminium that offer exceptional durability. Their 400 kPa compressive strength is comparable to supporting a Mark V Light tank!
It’s a common misconception that underfloor heating is a luxury accessory to keep feet warm. In fact, it’s the most efficient heating system available! By replacing your radiators with Wunda water-based underfloor heating, you can save space, increase comfort, and make your home net zero ready.
To learn more about our water-based underfloor heating systems, please visit our website at Wunda Group.
The insulative properties of our Rapid Response® boards have been tested at the University of Salford’s UKAS accredited testing lab. The results are as follows:
- 20mm of Rapid Response® has an R-value of 0.447 (+/- 2%).
- 16mm of Rapid Response® has an R-value of 0.379 (+/- 2.8%).
Please note that while the EPS material is insulative, it is not a replacement for insulation. In a new build, the property is expected to be built in line with up-to-date building regulations.
If you have an older property that is successfully heated by radiators, the Rapid Response system will heat more efficiently and effectively than radiators. However, if your home is unsuccessfully heated by radiators due to high heat loss, the heat loss should be addressed regardless of your choice of heating system.
How much height does this add to the room?
Our Rapid Response panels come in two sizes: 16mm and 20mm (about the size of a 20 pence piece). To calculate the total build-up height, add this to the height of any necessary decoupling layer such as a 10mm screed (tiling, LVT) along with your floor finish.
Please note that the choice between the 16mm and 20mm panel has little to no effect on heat output but will affect price. Systems using the 16mm panel are more expensive than those using the 20mm panel, due to an increased amount of pipe being necessary.
The Rapid Response® system should be laid on as flat a surface as possible. The polystyrene boards are fairly forgiving, but if there are any dips, holes, or undulations in the floor, we recommend using a levelling screed to deal with them. The floor should be dry and free of dust, oil, or other contaminants to ensure that the adhesive sticks properly.
For more information about floor preparation, check out this blog post: How To Install Underfloor Heating On Concrete Floor – Wunda Group.
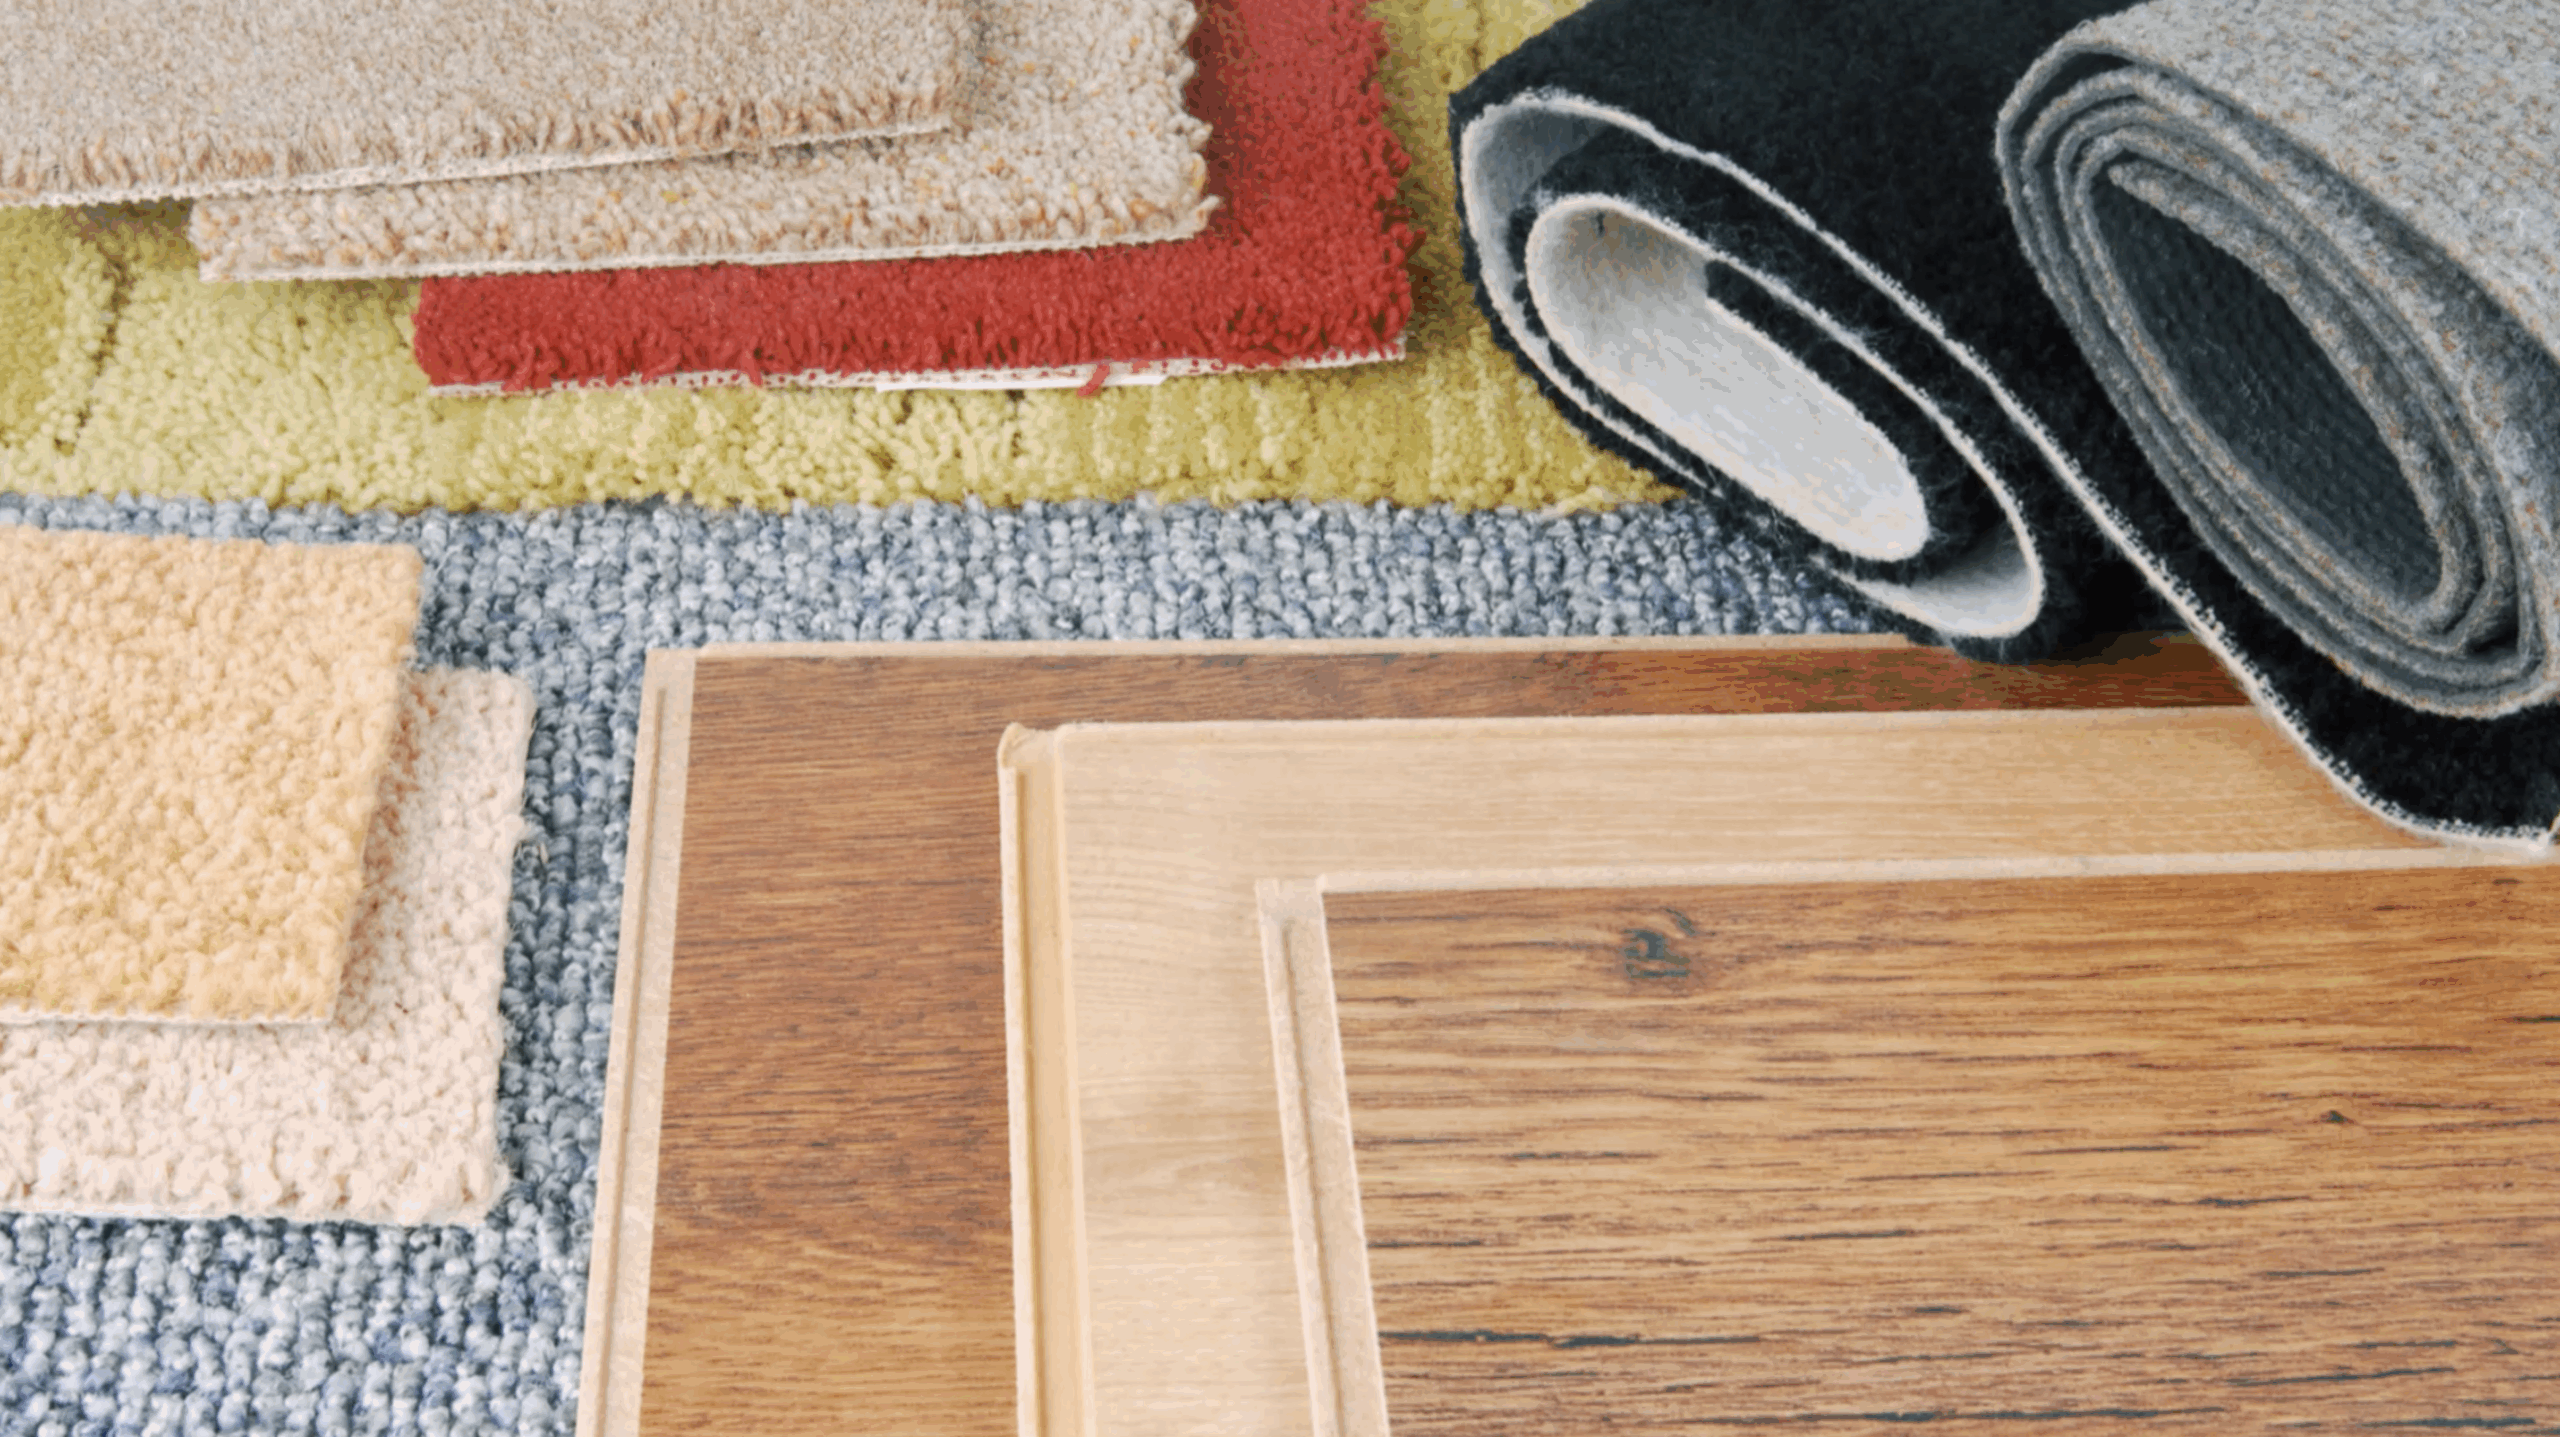
Our Rapid Response® system is compatible with most floor finishes, including carpet and underlay (up to 2.5 tog), wood, LVT, laminate, concrete, and tiles. Wunda Rapid Response® high-density boards also support heavier floor finishes such as marble and stone tiles. These boards are approved by leading tile adhesive manufacturers to be laid directly on top without the need for an intermediary layer. This helps to reduce system cost, build-up height, and decrease installation time.
For those opting for a wood or vinyl finish, we supply floor probes to protect the floor finish. Please note that wood products such as Maple and Beech are not compatible.
For more information on each floor finish, please visit our website at Underfloor Heating for Different Floor Types | Wunda Group.
To ensure that our rapid response system works optimally, we recommend installing it on a fixed floor made of wood, concrete, tile, or stone. This will prevent any movement and ensure that the system functions smoothly. Please note that the system should not be installed on top of any floating floor, and any such floor finish should be removed first. This applies to carpet, LVT, and laminate flooring. If you wish to install the system on top of tiles, please ensure that the floor is dry and free of any contaminants.
Some customers prefer to remove any fixed floor finishes to keep the build-up height as low as possible. We recommend that any existing old asbestos flooring tiles be professionally removed before laying a new floor on top. This will ensure the safety of everyone involved.
Water based underfloor heating does require some maintenance. In comparison to radiators water underfloor heating needs very little maintenance and the maintenance it does need is easier to carry out, as the system is maintained from one central point – the manifold.
The maintenance follows a similar to process to central heating with radiators. Ensure there’s no air in the system by releasing at the manifold and turn on after summer before the depths of winter to check all is running smoothly.
A Rapid Response® floor heating system produces heat in as little as 30 minutes because it has a level of controllability not seen before in under floor heating. Combined with our Home Heating Controls it can be turned on, off, up, down in individual areas of the home at the touch of a button on your smart phone, Ipad or laptop from wherever